My Learning

From first principles and price-volume analysis to accumulation, distribution and trading decisions.

Read each chapter and its charts in sequence, or start with a question and return to the wider structure.

The Wyckoff Method

Chapters

What the Wyckoff Method Studies

First Principles · 01Coming soon

What the Wyckoff Method Studies

The Composite Operator Model and Strategic Interaction in Trading
First Principles · 02Coming soon

The Composite Operator Model and Strategic Interaction in Trading

The Law of Supply and Demand: Understanding Price Changes
First Principles · 03Coming soon

The Law of Supply and Demand: Understanding Price Changes

The Law of Cause and Effect: Trading Ranges and Subsequent Moves
First Principles · 04Coming soon

The Law of Cause and Effect: Trading Ranges and Subsequent Moves

The Law of Effort versus Result: Interpreting Price and Volume
First Principles · 05Coming soon

The Law of Effort versus Result: Interpreting Price and Volume

The Price Cycle: Accumulation, Markup, Distribution, and Markdown
First Principles · 06Coming soon

The Price Cycle: Accumulation, Markup, Distribution, and Markdown

The Wyckoff Five-Step Method: From Market Context to Trading Conditions

First Principles · 07Coming soon

The Wyckoff Five-Step Method: From Market Context to Trading Conditions

A Fresh Look at a Single Candlestick
Price & Volume · 08Coming soon

A Fresh Look at a Single Candlestick

Understanding Volume
Price & Volume · 09Coming soon

Understanding Volume

From Single Candlesticks to Swing Comparisons
Price & Volume · 10Coming soon

From Single Candlesticks to Swing Comparisons

Trends, Channels and Trading Ranges
Price & Volume · 11Coming soon

Trends, Channels and Trading Ranges

Testing, Absorption and Exhaustion
Price & Volume · 12Coming soon

Testing, Absorption and Exhaustion

The Accumulation Structure and Phase A
Accumulation · 13Coming soon

The Accumulation Structure and Phase A

Phase B: Tracking Supply and Demand Within the Range
Accumulation · 14Coming soon

Phase B: Tracking Supply and Demand Within the Range

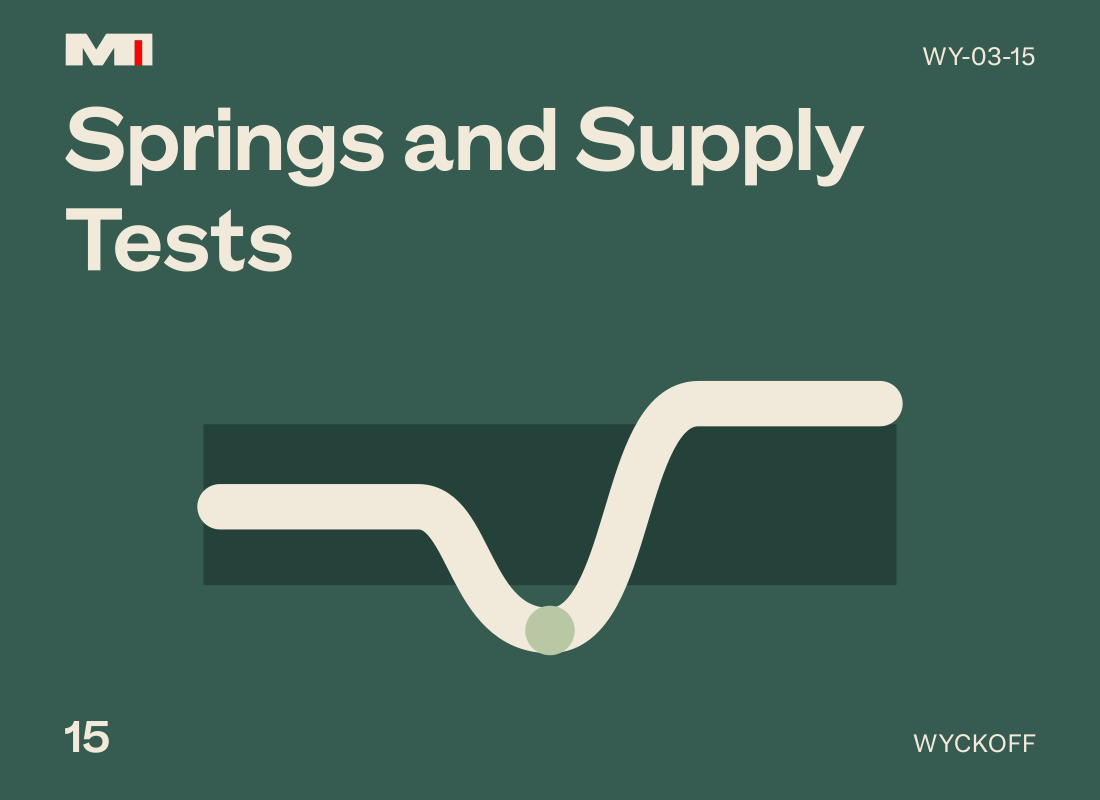
Phase C: Springs and Supply Tests
Accumulation · 15Coming soon

Phase C: Springs and Supply Tests

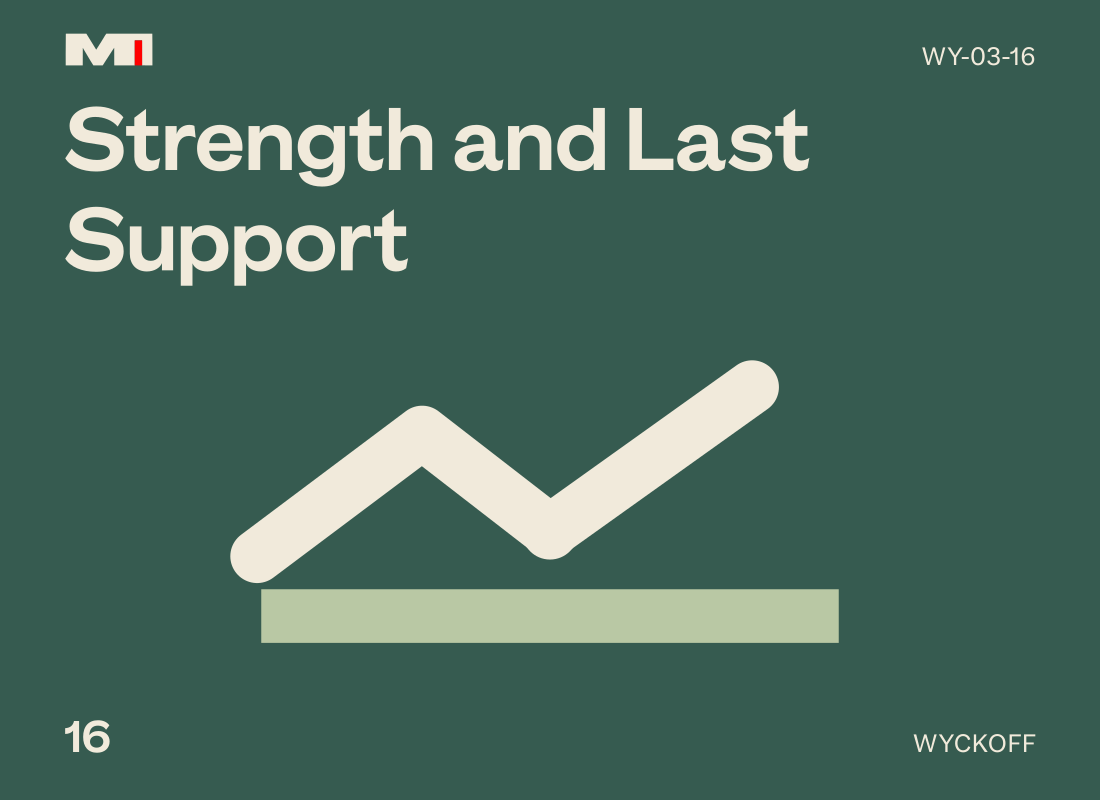
Phase D: Signs of Strength and Last Points of Support
Accumulation · 16Coming soon

Phase D: Signs of Strength and Last Points of Support

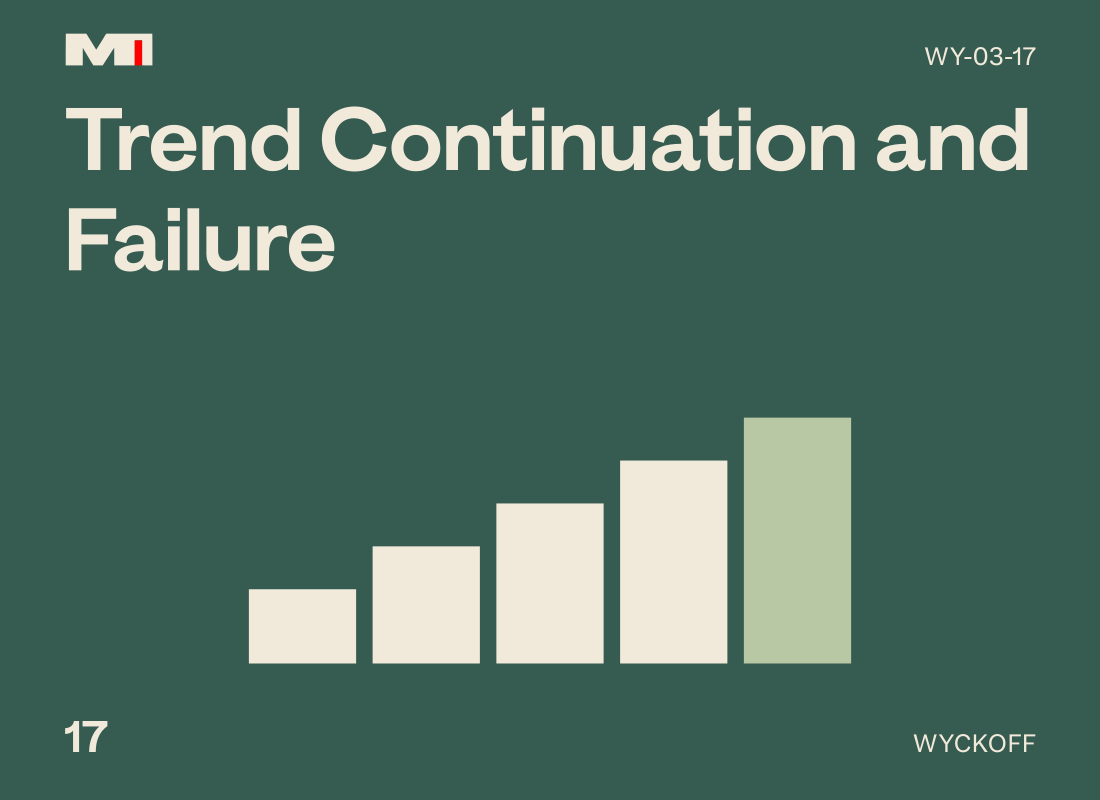
Phase E, Trend Continuation, and Invalidation of the Accumulation Hypothesis
Accumulation · 17Coming soon

Phase E, Trend Continuation, and Invalidation of the Accumulation Hypothesis

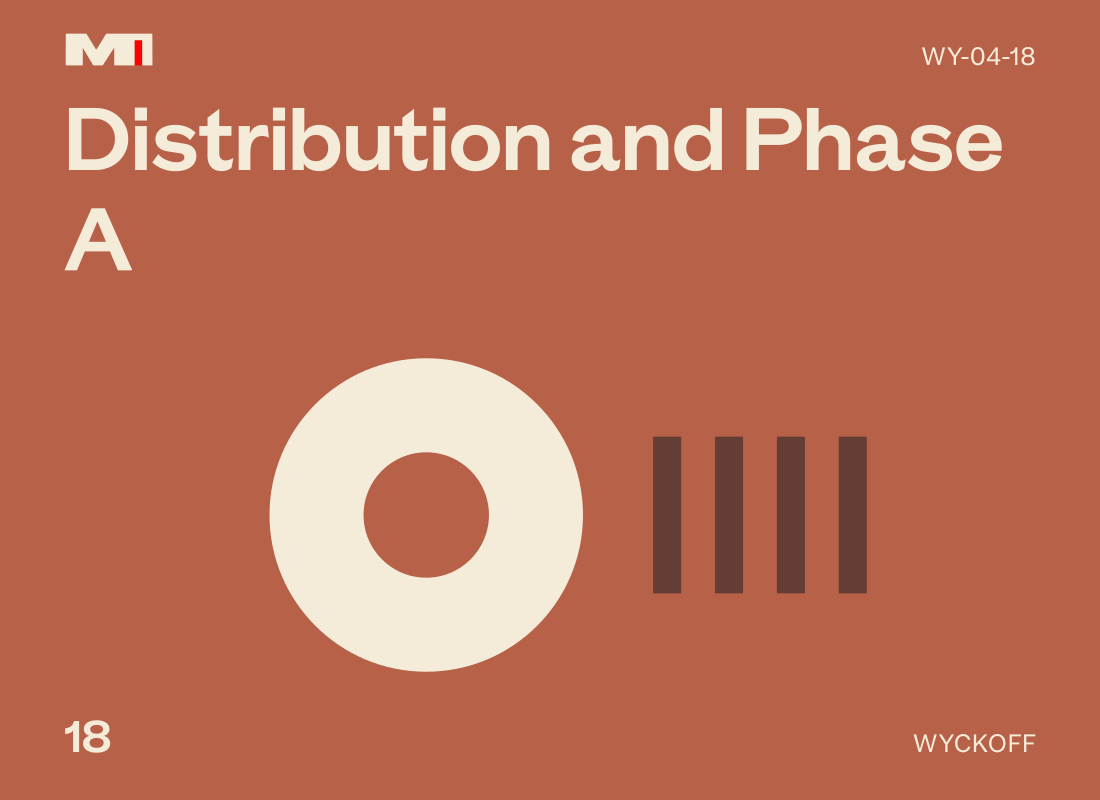
The Distribution Structure and Phase A
Distribution · 18Coming soon

The Distribution Structure and Phase A

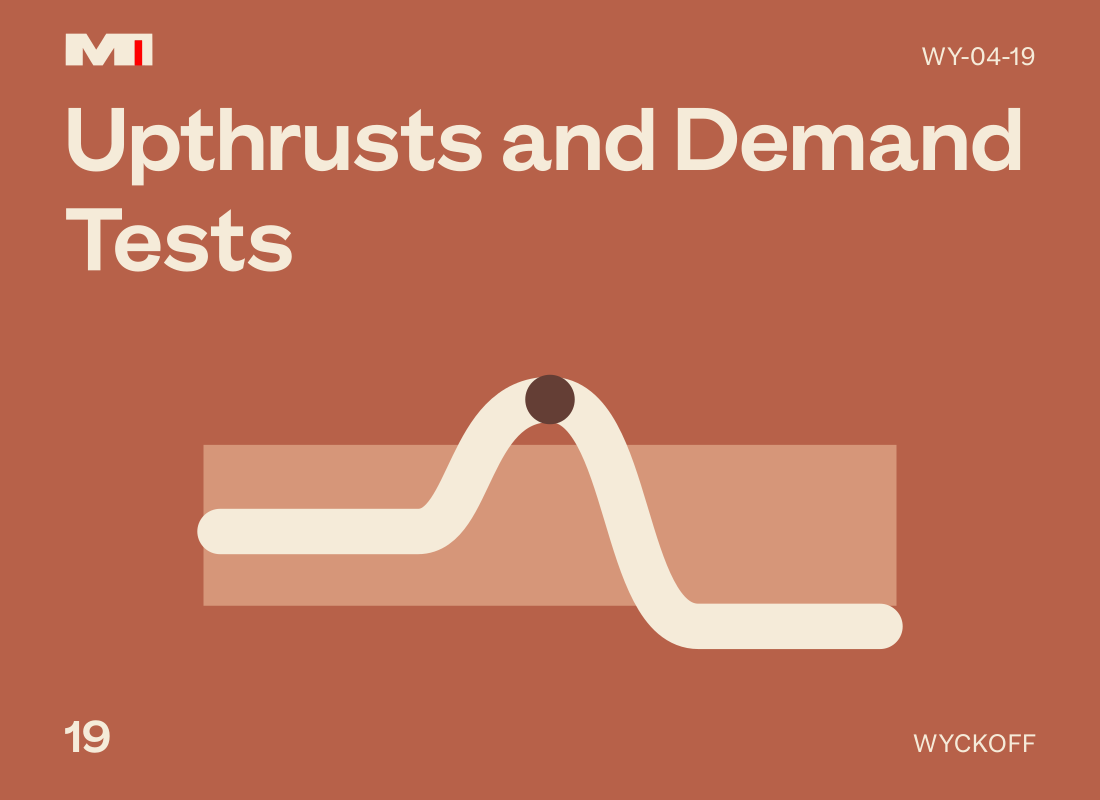
Phases B and C: Upthrusts, UTAD, and Demand Tests
Distribution · 19Coming soon

Phases B and C: Upthrusts, UTAD, and Demand Tests

Phases D and E: SOW, LPSY, and the Developing Decline
Distribution · 20Coming soon

Phases D and E: SOW, LPSY, and the Developing Decline

Why Distribution Assessments Fail
Distribution · 21Coming soon

Why Distribution Assessments Fail

Reaccumulation, Redistribution, and Complex Schematics
Continuation and Complex Structures · 22Coming soon

Reaccumulation, Redistribution, and Complex Schematics

Why the Same Range Can Have Different Interpretations
Continuation and Complex Structures · 23Coming soon

Why the Same Range Can Have Different Interpretations

Multiple Timeframes and Conflicting Assessments
Continuation and Complex Structures · 24Coming soon

Multiple Timeframes and Conflicting Assessments

Relative Strength and Opportunity Screening
Execution · 25Coming soon

Relative Strength and Opportunity Screening

Point-and-Figure Charts and Price Target Estimation
Execution · 26Coming soon

Point-and-Figure Charts and Price Target Estimation

The Nine Buying and Selling Tests and Trading Scenarios
Execution · 27Coming soon

The Nine Buying and Selling Tests and Trading Scenarios

Entry, Stops, Position Sizing, and a Complete Trading Plan

Execution · 28Coming soon

Entry, Stops, Position Sizing, and a Complete Trading Plan

Position Management, Review, and Rule Validation
Execution · 29Coming soon

Position Management, Review, and Rule Validation

Analysis and Trading Decisions Within a Complete Structure
Decision Process · 30Coming soon

Analysis and Trading Decisions Within a Complete Structure

Updating Decisions as Price Action Unfolds
Decision Process · 31Coming soon

Updating Decisions as Price Action Unfolds

Failed Structures, Ambiguity, and Reasons to Decline a Trade
Decision Process · 32Coming soon

Failed Structures, Ambiguity, and Reasons to Decline a Trade

Volume Profile and Trade Location
Advanced StudiesComing soon

Volume Profile and Trade Location

Order Flow and Local Trading Responses
Advanced StudiesComing soon

Order Flow and Local Trading Responses

Search

Try: Spring, supply and demand, timeframes, risk