 What the Wyckoff Method Studies | First Principles | 8 | Planned | |
 The Composite Operator Model and Strategic Interaction in Trading | First Principles | 8 | Planned | |
 The Law of Supply and Demand: Understanding Price Changes | First Principles | 9 | Planned | |
 The Law of Cause and Effect: Trading Ranges and Subsequent Moves | First Principles | 7 | Planned | |
 The Law of Effort versus Result: Interpreting Price and Volume | First Principles | 7 | Planned | |
 The Price Cycle: Accumulation, Markup, Distribution, and Markdown | First Principles | 7 | Planned | |
 The Wyckoff Five-Step Method: From Market Context to Trading Conditions | First Principles | 7 | Planned | |
 A Fresh Look at a Single Candlestick | Price & Volume | 7 | Planned | |
 Understanding Volume | Price & Volume | 7 | Planned | |
 From Single Candlesticks to Swing Comparisons | Price & Volume | 7 | Planned | |
 Trends, Channels and Trading Ranges | Price & Volume | 7 | Planned | |
 Testing, Absorption and Exhaustion | Price & Volume | 7 | Planned | |
 The Accumulation Structure and Phase A | Accumulation | 8 | Planned | |
 Phase B: Tracking Supply and Demand Within the Range | Accumulation | 7 | Planned | |
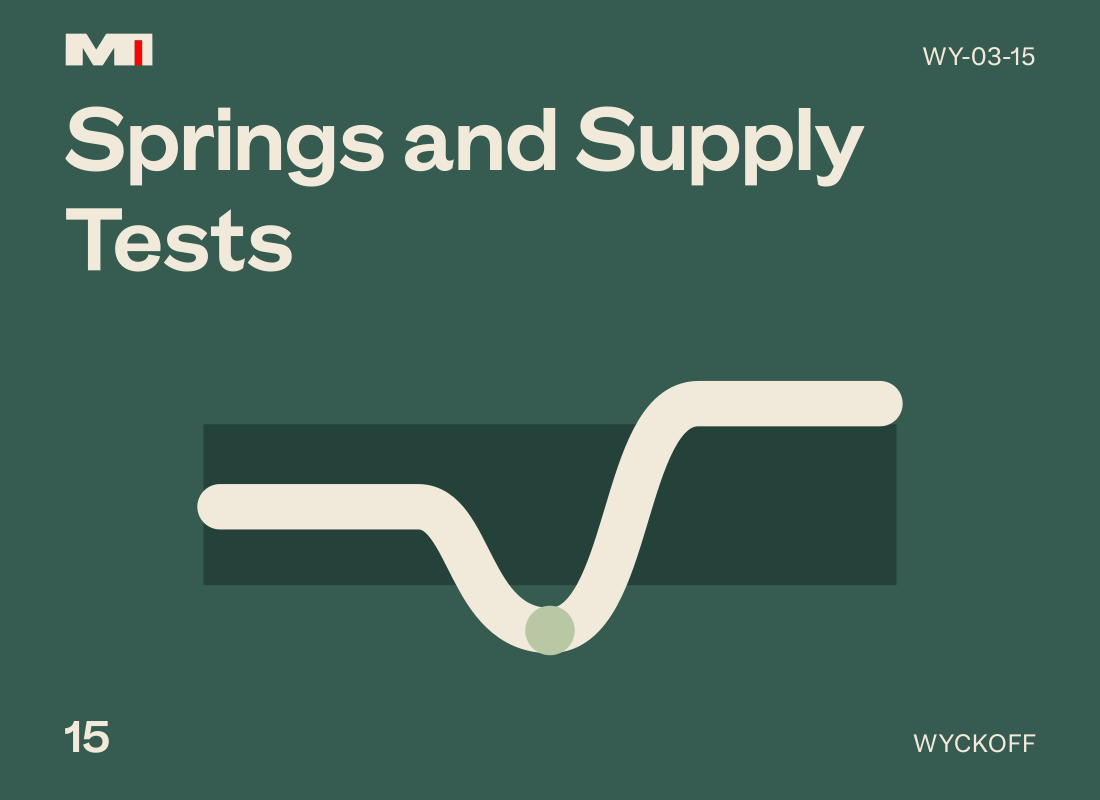 Phase C: Springs and Supply Tests | Accumulation | 8 | Planned | |
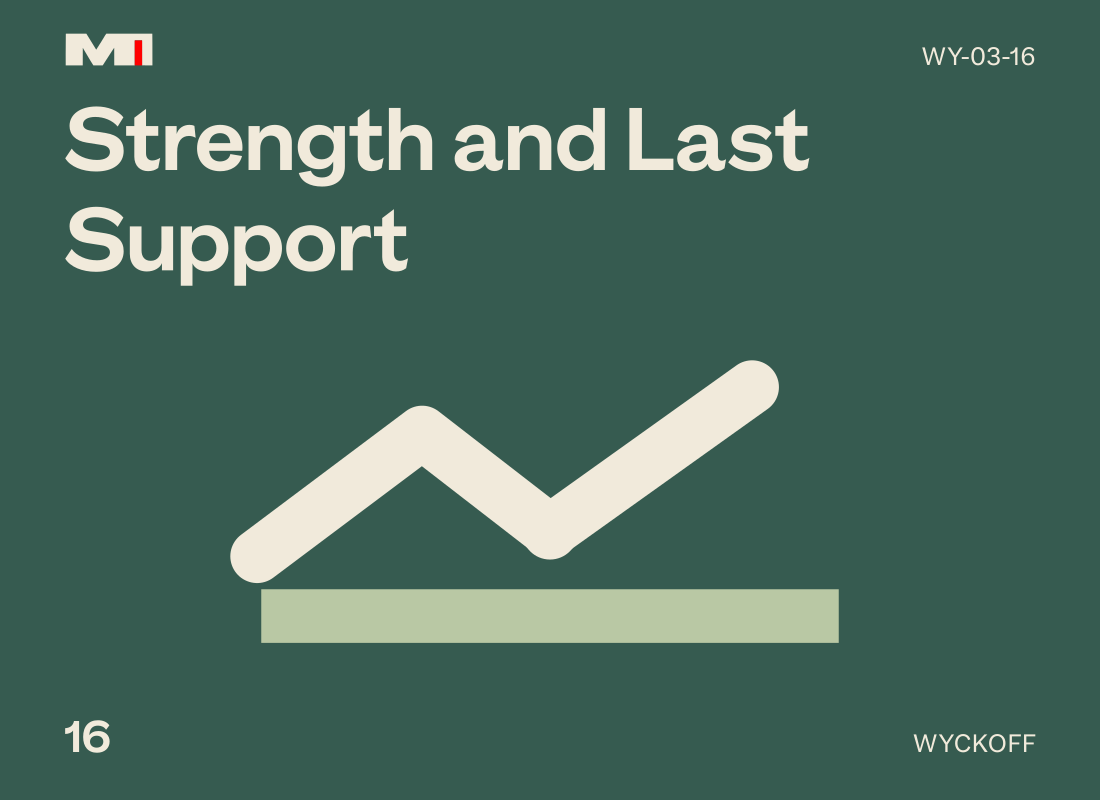 Phase D: Signs of Strength and Last Points of Support | Accumulation | 7 | Planned | |
 Phase E, Trend Continuation, and Invalidation of the Accumulation Hypothesis | Accumulation | 7 | Planned | |
 The Distribution Structure and Phase A | Distribution | 8 | Planned | |
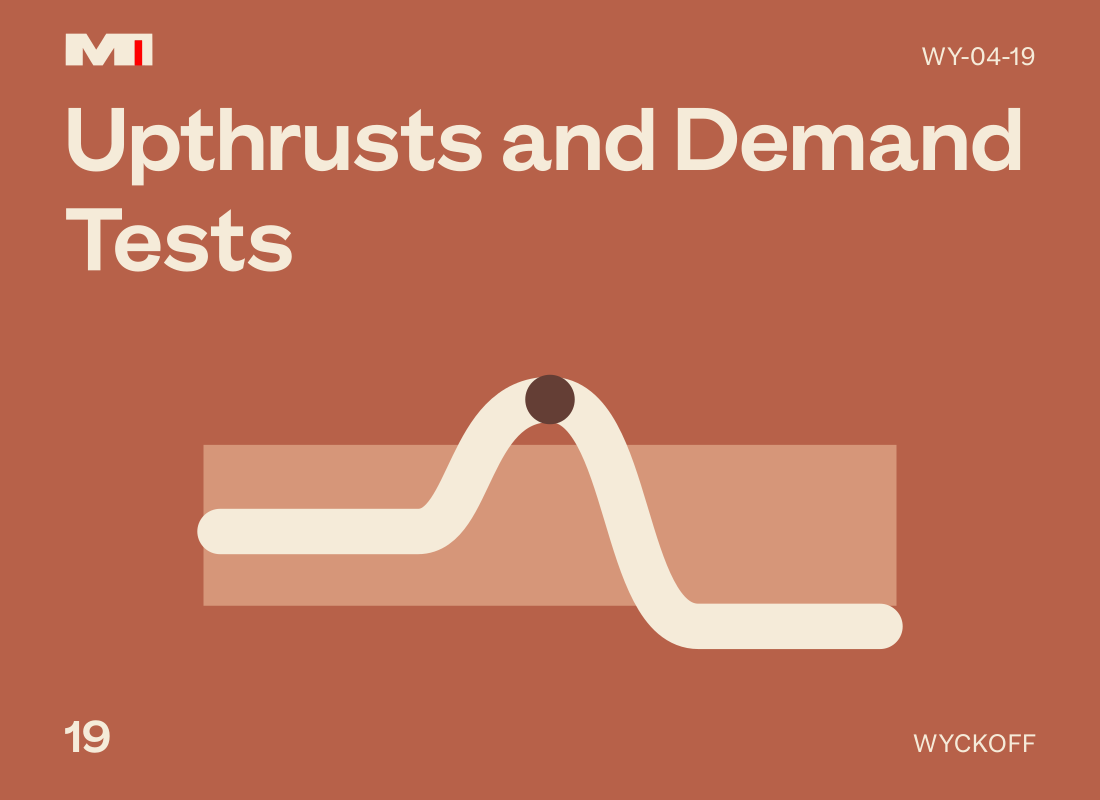 Phases B and C: Upthrusts, UTAD, and Demand Tests | Distribution | 8 | Planned | |
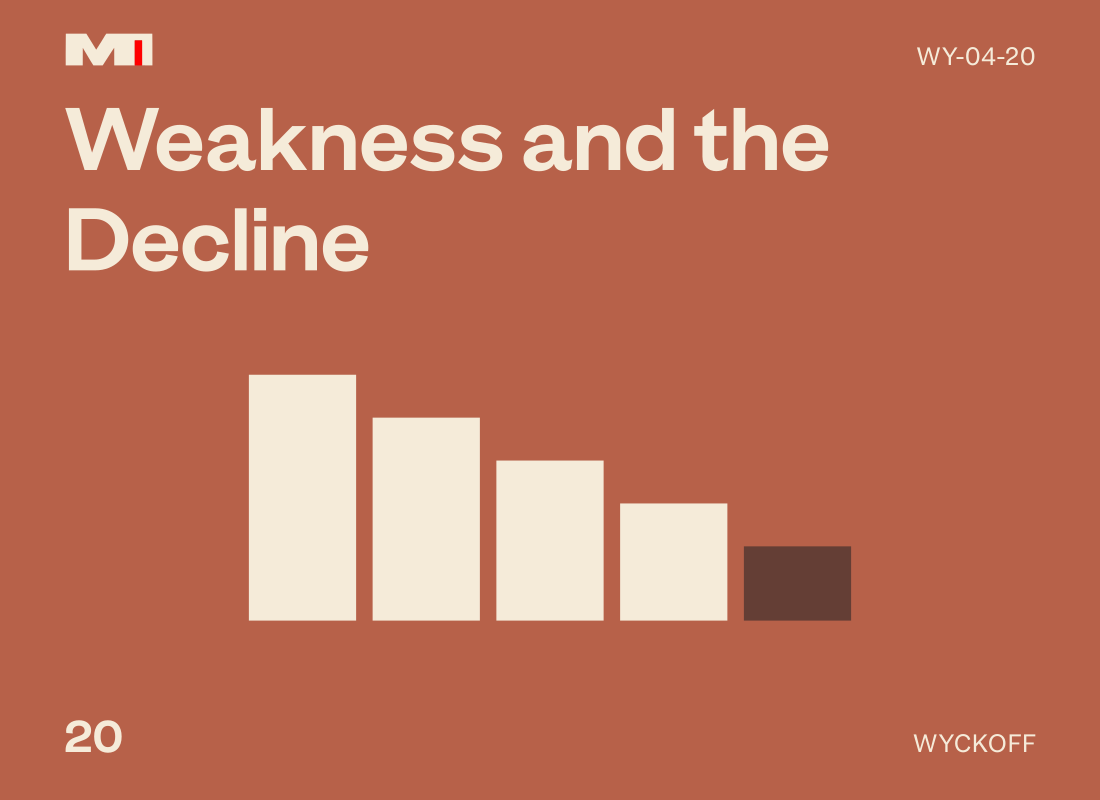 Phases D and E: SOW, LPSY, and the Developing Decline | Distribution | 7 | Planned | |
 Why Distribution Assessments Fail | Distribution | 8 | Planned | |
 Reaccumulation, Redistribution, and Complex Schematics | Continuation and Complex Structures | 8 | Planned | |
 Why the Same Range Can Have Different Interpretations | Continuation and Complex Structures | 7 | Planned | |
 Multiple Timeframes and Conflicting Assessments | Continuation and Complex Structures | 8 | Planned | |
 Relative Strength and Opportunity Screening | Decisions, Execution & Validation | 7 | Planned | |
 Point-and-Figure Charts and Price Target Estimation | Decisions, Execution & Validation | 9 | Planned | |
 The Nine Buying and Selling Tests and Trading Scenarios | Decisions, Execution & Validation | 7 | Planned | |
 Entry, Stops, Position Sizing, and a Complete Trading Plan | Decisions, Execution & Validation | 10 | Planned | |
 Position Management, Review, and Rule Validation | Decisions, Execution & Validation | 13 | Planned | |
 Analysis and Trading Decisions Within a Complete Structure | The Complete Decision Process | 9 | Planned | |
 Updating Decisions as Price Action Unfolds | The Complete Decision Process | 9 | Planned | |
 Failed Structures, Ambiguity, and Reasons to Decline a Trade | The Complete Decision Process | 10 | Planned | |
 Volume Profile and Trade Location | Advanced Studies | 6 | Planned | |
 Order Flow and Local Trading Responses | Advanced Studies | 6 | Planned | |